Want to power up your workspace or garden shed? This comprehensive guide will walk you through the process of installing electrical wiring in a shed—providing you with step-by-step instructions, safety tips, and expert advice along the way. Whether you’re setting up a new workshop or enhancing an existing storage space, having a reliable electrical supply in your shed opens up a world of possibilities.
Why should you install electrical wiring in your shed?
Here are some reasons why:
The uses of electricity in sheds go beyond just lighting. Hobbyists need consistent power for their saws and drills, while gardeners rely on outlets for hydroponic systems or grow lights. Even simple pleasures like running a mini-fridge or radio become effortless with proper wiring.
The significance of installing electrical wiring in sheds lies in providing convenience, safety, and value. When done correctly, it reduces the chances of tripped breakers, lowers fire risks, and ensures dependable power supply whenever you need it.
With the right setup, your shed can become more than just a storage space—it can seamlessly integrate into your home’s functionality.
If you’re unsure about handling electrical work yourself, it’s wise to reach out to a professional. A residential electrician can help ensure the job is done safely and correctly. You can easily contact them for assistance.
Are you ready to learn how to safely and efficiently run electricity to your shed? Let’s dive in!
Planning Your Shed Wiring Project
Smart shed wiring planning is the backbone of every safe and reliable electrical installation. Before picking up any tools, a clear strategy prevents wasted time and costly mistakes. Mapping out your project answers key questions: how do you run power to a shed safely, efficiently, and in compliance with code?
Cable Type Selection: Matching Materials to Your Setup
Choosing the right cable type ensures durability and safety:
- Underground Feeder (UF) cable stands up to moisture and soil, making it the most popular choice for running power underground to a shed.
- THWN wire in conduit offers extra protection if rodents or heavy equipment could threaten exposed cables.
- For above-ground applications or inside the shed, NM-B (Romex) works well but should never be buried or placed outdoors unprotected.
Each cable type carries its specific amp rating. Undersized cables risk overheating; oversized cables increase costs unnecessarily. Always match your selection to both distance and load requirements.
Assessing Power Needs: Lighting, Tools, and Future Growth
Accurately estimating your shed’s electrical demand guarantees performance and safety:
- List all intended devices: This includes everything from lighting (you might want to consider professional help for this part) to outlets, heating/cooling units, power tools—everything that could draw current.
- Calculate total wattage: Add up the maximum wattage for simultaneous use.
- Convert watts to amps: Divide total watts by voltage (typically 120V or 240V).
- Add a margin for growth: Plan for at least 20% more capacity than you currently need.
For example:
If your saw (1500W), lights (100W), and heater (1200W) might run together:
Total = 2800W / 120V ≈ 23 amps
A dedicated 30-amp circuit covers both current use and future needs.
Permits: Legal Protection & Peace of Mind
Electrical work in sheds often requires permits—even for DIY projects. Local codes vary, but most municipalities demand:
- Permit application before starting
- Inspections at key milestones
- Final approval upon completion
Skipping this step can lead to fines or forced removal of non-compliant work. Always check with your city or county’s building department before breaking ground.
Solid planning underpins success at every stage—laying the groundwork for a smooth installation process and years of trouble-free operation.
Essential Tools and Materials for Shed Wiring
Success with shed wiring starts with the right equipment. Every step demands precision, so having dependable tools on hand streamlines your work and ensures professional results. Here’s a rundown of the essential tools for shed wiring that deliver both efficiency and safety:
Core Tools for Electrical Installation
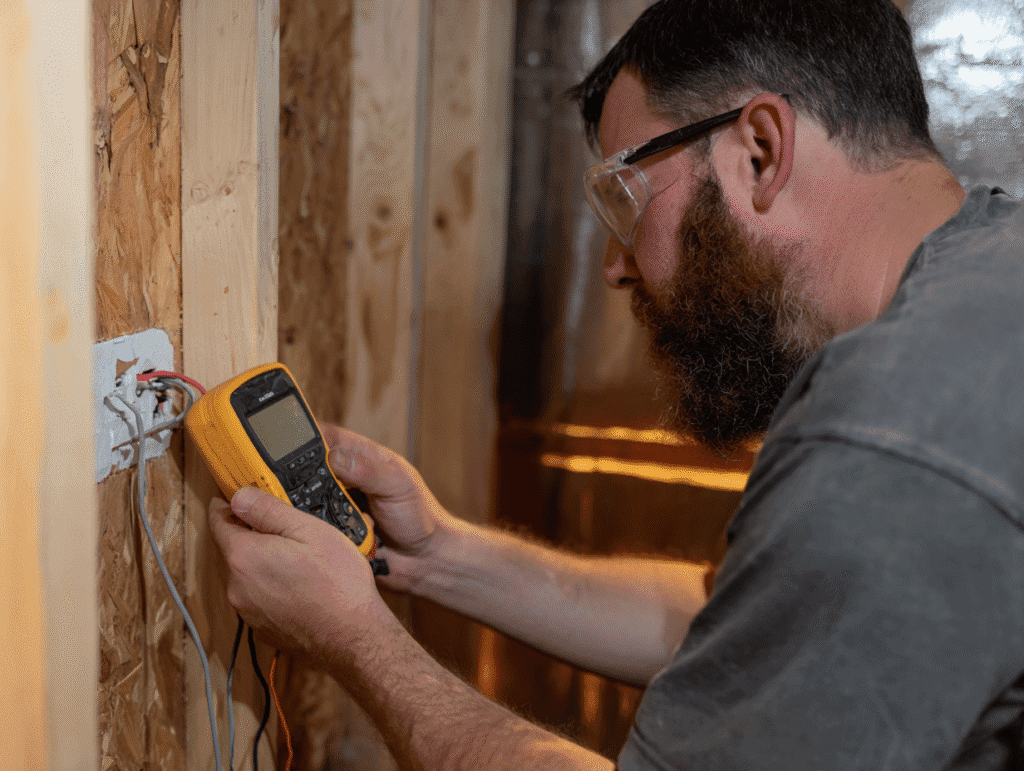
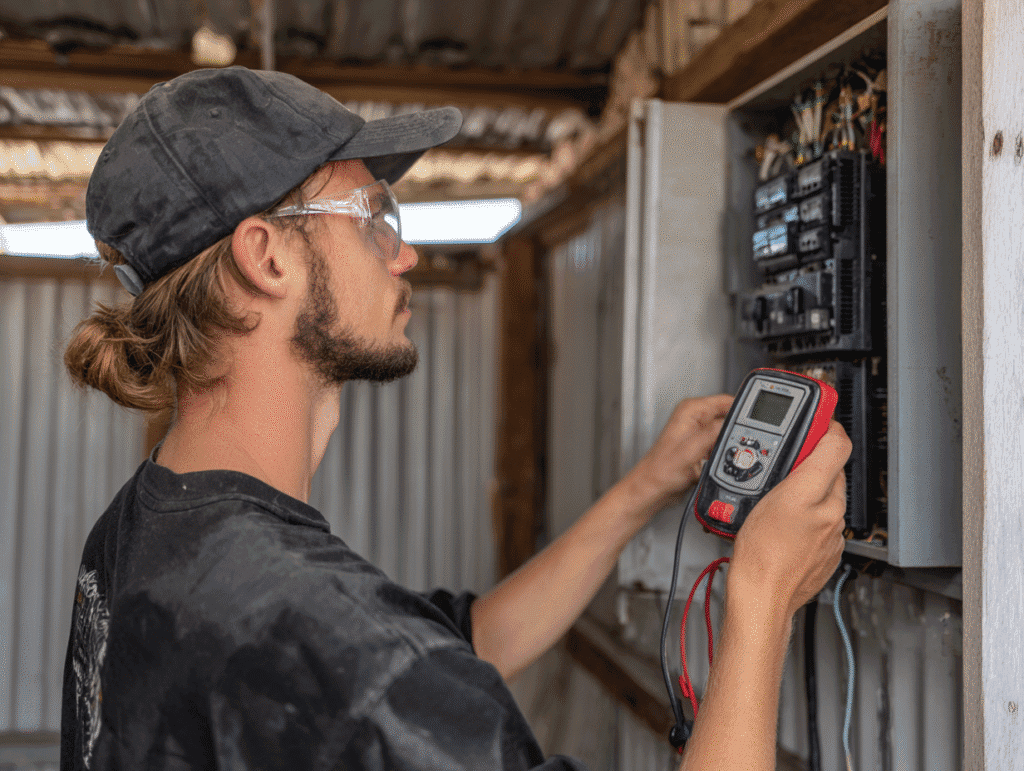
- Voltage Tester/Multimeter: Confirms circuits are de-energized before you start, preventing accidental shocks.
- Wire Cutters and Strippers: Cuts wire to length and removes insulation without damaging conductors.
- Needle-Nose Pliers: Helps bend wires, twist connections, and reach into tight spots.
- Fish Tape or Wire Puller: Essential for pulling wires through conduit runs between house and shed.
- Screwdrivers (Flat-head & Phillips): Installs outlets, switches, junction boxes, and secures terminals.
- Drill/Driver with Bits: Drills holes in studs or joists for cable runs.
- Tape Measure: Ensures accurate cable lengths and precise placement of boxes.
- Hammer & Clamps: Secures electrical boxes or conduit to framing.
Materials Specific to Shed Wiring
- Approved electrical cable (type based on your planning)
- Conduit (PVC or metal, as required)
- Junction boxes
- Wire nuts/connectors
- Electrical tape
- GFCI outlets (for outdoor or damp locations)
Safety Gear for Electrical Work
Electrical projects demand unwavering commitment to safety. Every installer should suit up with:
- Insulated Gloves: Minimizes risk of electric shock when handling live wires or unknown circuits.
- Safety Glasses: Shields eyes from debris while drilling or cutting conduit.
- Work Boots with Non-Conductive Soles: Reduces risk of grounding yourself accidentally.
- Protective Clothing: Avoids burns or scrapes in confined spaces.
“The right gear doesn’t just make your job easier—it keeps you safe and ensures your project meets uncompromising standards.â€
This arsenal prepares you to tackle each phase confidently, from running conduit to making clean wire connections. Precision tools paired with reliable safety gear lay the groundwork for a trouble-free installation—setting the stage for hands-on wiring steps up next.
Step-by-Step Guide to Installing Electrical Wiring in Your Shed
Running electrical wiring to your shed takes careful execution and strict adherence to safety standards. This step-by-step guide ensures you get the job done right, from conduit installation to pulling the wire—answering common questions like how do you run electric to a shed and how to run power to shed from house.
1. Map Out the Route and Mark Your Layout
- Start at the Source: Identify your main electrical panel or sub-panel where you’ll tap into existing power.
- Determine Path: Plan the most direct, obstruction-free path between your house and shed for minimal voltage drop.
- Mark Conduit Route: Use marking paint or stakes to outline where your conduit will be buried.
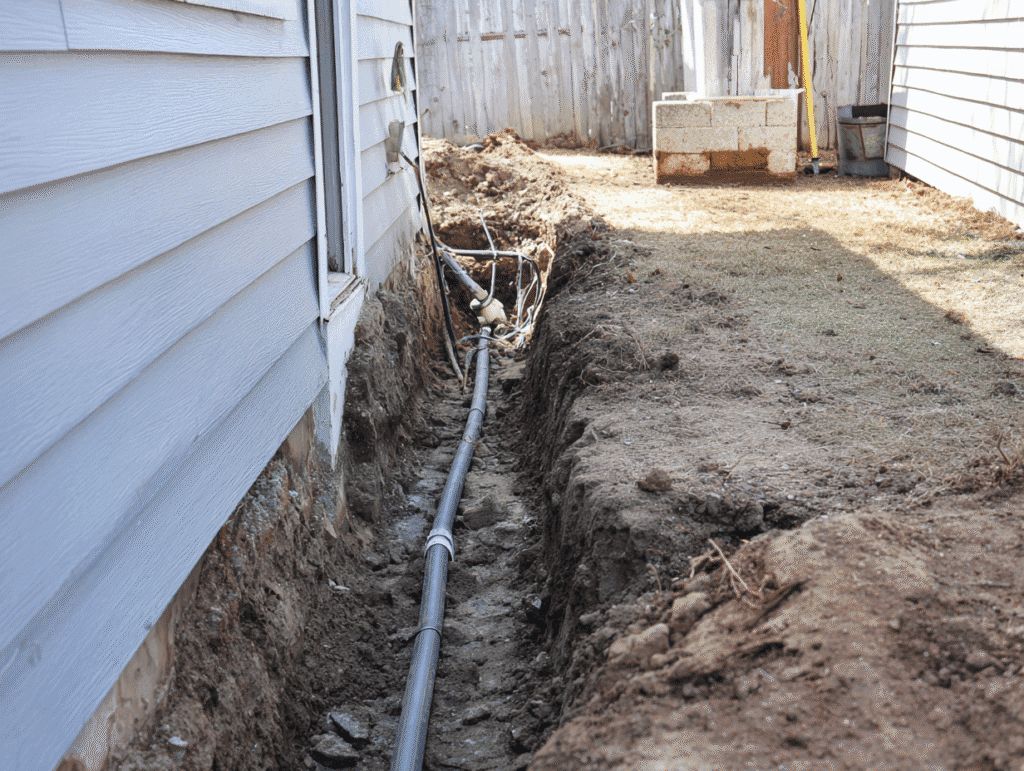
2. Trenching for Underground Conduit
- Depth Requirement: Local code often requires at least 18 inches of cover for PVC conduit (always verify with your authority).
- Dig the Trench: Use a trenching shovel or rent a trencher for longer distances.
- Slope Consideration: Slightly slope the trench away from structures for drainage if needed.
3. Laying the Conduit
- Conduit Type: Schedule 40 PVC conduit is standard for underground runs. Use rigid metal conduit above ground where exposed.
- Dry Fit First: Lay out all sections of conduit, including elbows and couplings, without cement.
- Glue Connections: Once properly aligned, use PVC solvent cement on joints to ensure watertight connections.
- Install Sweep Elbows: At both ends of the trench, install sweep elbows (gentle curves) for easier wire pulling.
4. Inserting Pull String and Pulling Wire
- Fish Tape or Pull String: Feed a sturdy pull string or fish tape through the entire length of conduit before backfilling.
- Wire Selection: For most sheds, use UF-B (underground feeder) cable or individual THWN wires rated for wet locations.
- Pull Wires Through: Attach wires securely to the pull string and draw them through gently without forcing—avoid sharp bends that could damage insulation.
5. Connecting Conduit at Entry/Exit Points
- Weatherproof Fittings: Where conduit enters the house and shed, use weatherproof connectors and bushings for protection against moisture and abrasion.
- Caulking Gaps: Seal any openings around entry points with exterior-grade caulk.
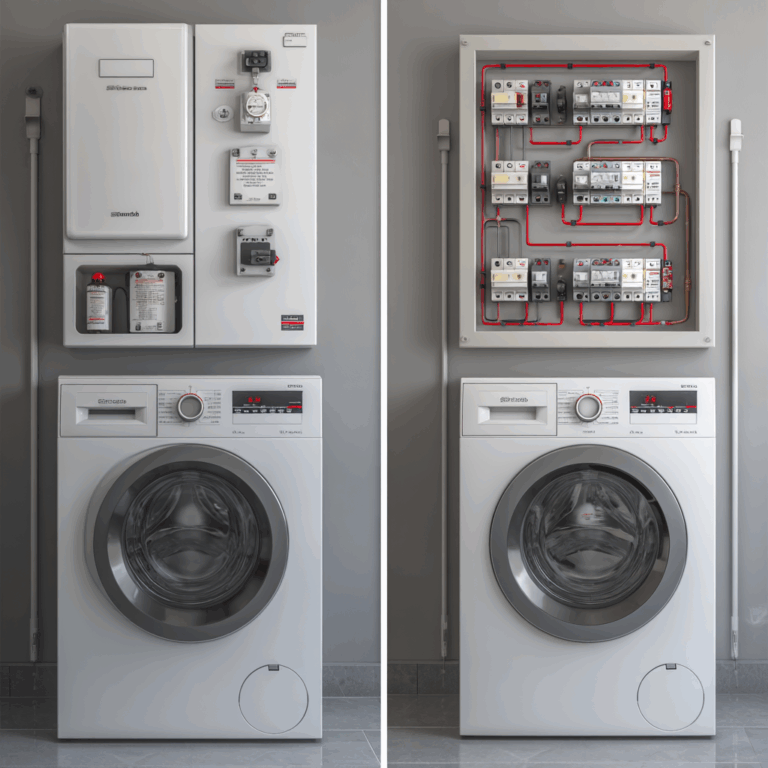
6. Mounting Subpanel or Junction Box Inside Shed
- Subpanel Installation (if needed): For larger power needs, mount a small subpanel inside your shed. Smaller setups may only require a weatherproof junction box.
- Secure All Boxes: Fasten boxes firmly to structural framing using screws—not nails—for lasting support.
7. Internal Wiring in Shed
- Run Cables Neatly: Staple cables along wall studs out of harm’s way, maintaining required clearances from combustibles.
- Install Receptacles & Lights: Position outlets and switches according to your shed’s planned layout.
Tip: Always leave some slack in cables inside boxes for easier future service.
Each step in this process addresses key concerns about installing shed wiring step by step—from safe trenching and effective conduit installation process to choosing robust materials designed for outdoor conditions. The result: reliable, code-compliant power exactly where you need it most.
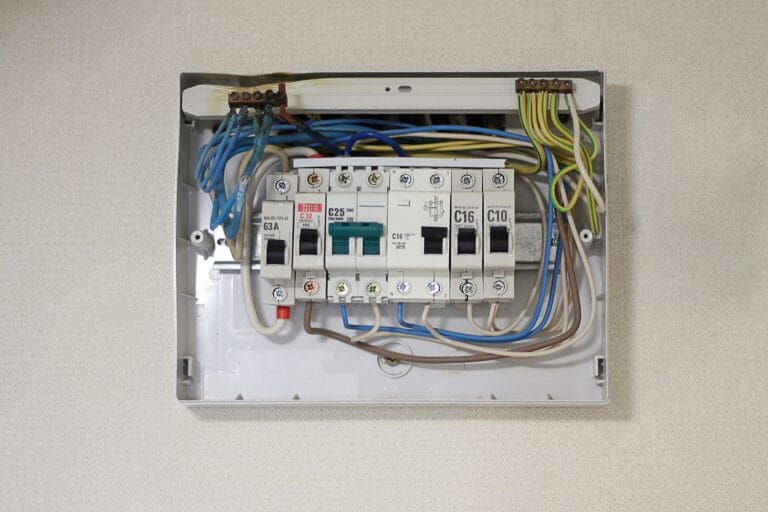
Making Wire Connections Inside the Shed Junction Box
Properly making wire connections in a shed is crucial for ensuring a safe and functional electrical system. The process involves several key steps:
1. Preparation
- Ensure the power supply is turned off at the main breaker.
- Use a voltage tester to confirm there is no live current in the wires you’ll be working with.
2. Strip the Wires
- Use a wire stripper to remove about ¾ inch of insulation from the ends of each wire.
- Be careful not to nick or damage the copper strands.
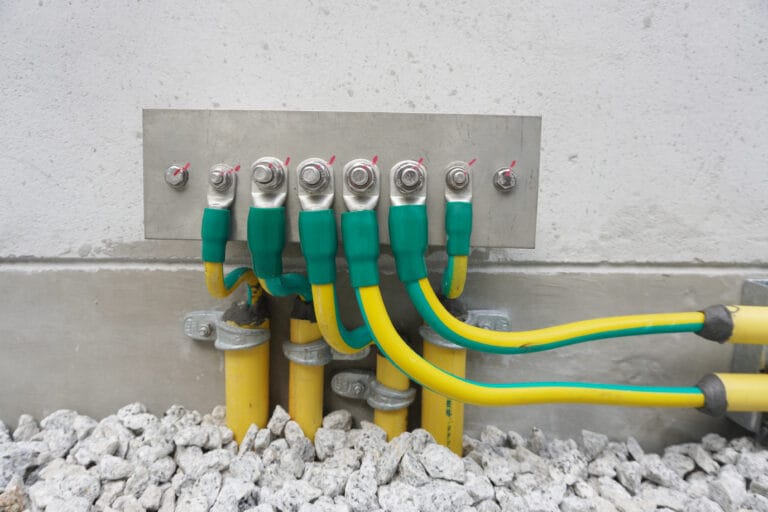
3. Connect Ground Wires
- Locate the ground bar inside the junction box.
- Twist together all ground wires (bare copper or green insulation) and connect them to the ground bar using a grounding screw.
4. Connect Neutral Wires
- Identify the neutral bar, typically marked or positioned opposite the ground bar.
- Join all neutral wires (white insulation) together by twisting them and securing them with a wire nut. Attach this bundle to the neutral bar.
5. Connect Hot Wires
- Match hot wires (black or red insulation) with corresponding circuit wires.
- Twist these wires together and secure them with wire nuts, ensuring they are tightly connected and no bare copper is exposed.
6. Secure All Connections
- Fold wires neatly into the junction box, ensuring no stress on connections.
- Fasten junction box cover securely to protect connections.
7. Label Circuits
- Clearly label each circuit within the junction box for easy identification during future maintenance or troubleshooting.
By following these steps, you ensure that your shed’s electrical system is safely and efficiently wired, ready to support your lighting, tools, or other electrical needs. If you’re planning to install a light fixture in your shed, make sure you follow proper procedures for connecting it to your existing wiring system.
Additionally, if you have older knob and tube wiring in your shed, you may need some specific guidance on how to attach modern fixtures to this type of wiring. Always remember to check your work against an inspection checklist to ensure everything has been done correctly and safely.
Testing and Troubleshooting Your Shed Wiring System
Importance of Testing Newly Installed Shed Wiring for Safety
Ensuring the safety and functionality of your newly installed shed wiring system is paramount. Testing shed wiring not only verifies that the installation was done correctly but also helps prevent electrical hazards such as short circuits, shocks, or fire risks.
Conducting Post-Installation Checks to Ensure Proper Functioning
After completing the installation, follow these steps to test and troubleshoot your shed wiring system:
Visual Inspection
Ground Fault Circuit Interrupter (GFCI) Test
Load Test
Additional Safety Checks
- Use an outlet tester for a quick verification of correct wiring.
- Inspect grounding connections; improper grounding can lead to serious safety issues.
- Look for any unusual smells or sounds which may indicate electrical problems.
Regular testing and maintenance of your shed’s electrical system ensure long-term safety and reliability. If you encounter any issues during testing, it may be wise to consult with a licensed electrician to address them promptly.
Common Wiring Issues and How to Fix Them
Home projects may present common wiring issues that can disrupt the functionality of your shed’s electrical system. Recognizing these problems early and knowing how to address them is crucial.
1. Circuit Overload
A frequent issue is circuit overload, where too many devices draw power simultaneously, causing the breaker to trip.
Solution:
2. Loose Connections
Loose connections can lead to intermittent power loss, sparking, or even fire hazards.
Solution:
3. Short Circuits
Short circuits occur when a hot wire touches a neutral or ground wire, leading to a sudden surge of current.
Solution:
4. Ground Faults
Ground faults happen when electrical current deviates from its intended path, posing serious safety risks.
Solution:
5. Flickering Lights
Flickering lights can signal loose bulbs or more severe wiring issues such as voltage fluctuations.
Solution:
Addressing these common wiring issues promptly ensures your shed remains safe and functional. Maintaining vigilance over your electrical system helps avoid interruptions and protects against hazards.
Maintaining Your Shed Wiring System for Long-Term Functionality
Long-term reliability starts with a proactive approach. Maintaining shed wiring isn’t just about avoiding outages—it’s about ensuring uncompromising safety and performance, season after season.
Routine Maintenance Checklist:
- Visual Inspections: Schedule monthly checks for exposed wires, damaged insulation, and signs of rodent activity. Early detection prevents larger hazards.
- Test GFCI Outlets: Press the “test†and “reset†buttons on all Ground Fault Circuit Interrupter outlets to ensure dependable shock protection.
- Secure Connections: Tighten any loose terminal screws in junction boxes or outlets using an insulated screwdriver. Vibration and temperature changes can loosen connections over time.
- Moisture Control: Confirm that all electrical boxes remain dry. Use weatherproof covers and sealants around cable entries to block out condensation and rainwater.
- Load Management: Track the total wattage of tools, lights, and appliances used in your shed. Avoid overloading circuits by sticking within recommended amperage limits.
- Conduit Integrity: Inspect underground and surface conduits for cracks or corrosion. Replace compromised sections immediately to prevent moisture intrusion or wire exposure.
Pro tip: Keep an up-to-date circuit diagram taped inside the shed for quick reference during troubleshooting or upgrades.
Prioritizing these steps extends the lifespan of your wiring system, reducing repair costs and downtime. Regular attention keeps your electrical setup as dependable as the day it was installed.
Ensuring Safety Practices Are Followed During Maintenance Tasks
Electrical safety practices are non-negotiable during every maintenance task. Prioritizing them keeps your shed’s electrical system reliable and prevents hazardous incidents.
Key Safety Practices for Shed Electrical Maintenance:
Every maintenance session is an opportunity to reinforce uncompromising safety standards. Consistent use of these practices preserves both your shed’s functionality and your peace of mind.
Adhering to these protocols helps eliminate risks while extending the lifespan of your shed’s electrical setup. The result: a safer, more dependable workspace every time you flip the switch.
For a thorough evaluation of your shed’s electrical safety, consider scheduling an electrical safety inspection.
Conclusion
Key takeaways from shed wiring guide: Preparation, precision, and safety form the foundation of any successful electrical project. Every step—planning, installing, testing, and maintaining—is critical to reliable power in your shed.
Learning how to run electrical wiring in a shed empowers you to create a functional, convenient space tailored to your needs. Prioritizing safety not only protects your investment but also ensures peace of mind with every flip of the switch. Take pride in your workmanship—safe, smart choices today prevent costly headaches tomorrow.
FAQs (Frequently Asked Questions)
Why is electrical wiring important in a shed?
Electrical wiring in a shed is essential for powering lighting, tools, and other equipment. Proper wiring enhances the usability of the shed, allowing it to serve as a functional workspace or storage area with electricity access.
How do I plan the electrical wiring project for my shed?
Planning your shed wiring involves assessing power needs, selecting the appropriate cable type, and obtaining necessary electrical permits. Careful planning ensures safety, compliance with regulations, and that your shed’s electrical system meets your requirements.
What tools and safety gear are needed for running electrical wiring in a shed?
Essential tools include wire cutters, drills, conduit benders, voltage testers, and screwdrivers. Safety gear such as insulated gloves and safety glasses are crucial to protect yourself during installation and ensure safe handling of electrical components.
What are the step-by-step instructions for installing electrical wiring in a shed?
The installation process includes laying conduit from the house to the shed, running cables through the conduit, making wire connections inside the shed junction box, and securing all components properly. Following detailed steps ensures a safe and effective electrical setup.
How can I test and troubleshoot my newly installed shed wiring system?
After installation, conduct thorough testing using voltage testers to check for proper current flow and inspect connections for safety. Troubleshoot common issues like loose connections or faulty wires to maintain reliable operation of your shed’s electrical system.
What maintenance practices should I follow to ensure long-term functionality and safety of my shed’s electrical wiring?
Regularly inspect wiring for damage or wear, ensure connections remain secure, and adhere to safety protocols during any maintenance tasks. Proper upkeep helps prevent hazards and prolongs the life of your shed’s electrical system.